Showing posts with label eggs. Show all posts

Monday, April 9, 2012

Deviled Eggs & Fluffy Fruit Salad

It's so funny how food brings back memories for me.  For example, these two dishes remind me of dear friends (you know, friends that you had before kiddos, which now seems like a lifetime ago!!) and every time I make them it reminds me of those friends, those events, or those people that I shared that food with.  Isn't it wonderful how food does that?!?  I felt that I needed to share that little extra tidbit with these easy peasy recipes that are great - not only for Easter, but to bring to any event or get together.

These deviled eggs remind me of my dad - who can eat a dozen deviled eggs in one sitting :) - but also of an Easter we spent with several friends, who were all far away from family, and I brought these as a taste of home - such a fun memory!
For the deviled eggs, you'll need:
  • 6 hard cooked eggs
  • 1/4 cup mayonnaise
  • 1 tsp mustard
  • 1 tsp vinegar
  • paprika
I made 2 and a half times the amount of eggs, so I adjusted the above recipe accordingly.  I needed a lot of eggs, my dad & husband & I eat WAY too many of these eggs!! :)

Halve hard cooked eggs lengthwise and remove yolks.  Collect yolks in a bowl & mash with a fork.  Add mayo, mustard, and vinegar, mix well.  Stuff egg whites with mixture.  Sprinkle paprika for a bit of color :)  

Chill in refrigerator until ready to serve.  Then, if you're like me, eat way too many!!  Enjoy!!


  • This next recipe I found several years ago when I was looking for a recipe for fruit salad that didn't have mayo as an ingredient - to take to a friend's house who didn't like mayo.  I found this fruit salad & now every time I make it, it always reminds me of them!  I've also been told that this fruit salad reminds people of the old school pink fruit salad that old ladies used to bring to church events (but in a good, comforting way - haha!).

For the fruit salad, you'll need:
  • 12 oz Cool Whip
  • 21 oz cherry pie filling
  • 8 oz crushed pineapple
  • 11 oz mandarin oranges (drained)
  • 1/2 bag miniature marshmallows
Mix together, chill for at least an hour, and serve.  Easy, easy, easy!!  And yummy, yummy, yummy!!

Feel free to share any recipes that bring back a memory or two in the comments!

Sunday, April 1, 2012

Oven Baked Chicken Nuggets

Here's another recipe from my Everyday Food magazine - and another super easy one that my family gobbled up! I doubled the dry ingredients from the original recipe & added my favorite garlic powder (bc that just makes everything better, no?), and it worked just great for us.
For this recipe, you'll need (quantities have been doubled, so if using less chicken, cut dry ingredients in half):
  • about a pound of boneless, skinless chicken (I used almost 2 lbs of boneless, skinless, tenders, which is why I upped the dry ingredients, to coat all the chicken)
  • 2 cups Panko (japanese breadcrumbs)
  • 2/3 cup grated parmesan
  • 1/2 tbs garlic powder
  • coarse salt
  • 2 tbs vegetable oil
  • 1 cup all purpose flour
  • 3 large eggs, lightly beaten
  • cooking spray

Preheat oven to 400 degrees. Spread panko on rimmed baking sheet and bake until golden brown (6-8 min). Immediately put in a separate dish and add parmesan, garlic powder, and salt. Add oil and mix to combine. Increase oven temp to 450 degrees.

Organize your food prep station: cut chicken into 2 inch pieces, place flour, eggs, and panko in separate dishes. This is easiest for me when I have everything in order and it ends up at the baking sheet, ready to pop in the oven!

Set up a wire rack on a rimmed baking sheet, coat with cooking spray (I used olive oil again), at the end of your assembly line. Then coat chicken with flour, dip in egg, coat with panko, place on rack.

Here's what my nuggets looked like before I put them in the oven.

Bake chicken at 450 degrees until cooked through, about 12 minutes (two 6 minute increments), but flipping halfway through. This step is somewhat annoying, but I used tongs & it was relatively easy, then I popped it back in the oven for the remaining 6 minutes.

And here's a quick picture before we ate! Good food enjoyed by all!

Monday, October 31, 2011

Brown Sugar Blueberry Breakfast Bread

Say that 5 times fast, my friends!  I was inspired to make this bc my child LOVES blueberries and anything blueberry related.  I love making quick breads and I thought this just sounded good.  I started with a basic muffin recipe from my trusty Betty Crocker red and white cookbook, but then I took a little  of this and a little of that, and this is what came out of it!  I guess we call it a happy accident?  Because it got rave reviews from the family!
For the bread, you'll need:
  • 12 oz frozen blueberries
  • 1/3 cup packed brown sugar
  • 2 1/2 c. flour
  • 2/3 sugar
  • 4 tsp baking powder
  • 1/2 tsp salt
  • 1 tsp cinnamon
  • 1 1/2 cup milk
  • 1/2 cup oil
  • 2 beaten eggs
For topping, you'll need:
  • 1/2 cup butter
  • 1/2 cup sugar
  • 1/2 cup flour
  • 1/4 cup lightly packed brown sugar


I started by putting my blueberries in a bowl and mixing it with brown sugar.  The blueberries were frozen so I just thought it would be good if they got to know the brown sugar before I mixed them into the batter.  Also, if you're using frozen blueberries, make sure you remove all stems as the bag I used had several blueberries with stems still attached!  I figured nothing would ruin my bread like a bunch of random blueberry stems.

In a medium bowl, mix together flour, sugar, baking powder, salt, and cinnamon.  Make well in center of flour mixture and set aside.  In another small bowl, mix together milk, oil, and eggs.  Pour milk mixture into flour well.

Mix flour mixture until just moistened.

Add blueberry/brown sugar to batter

Mix until just mixed as well.  I thought it would be good to have ribbons of brown sugar running through the bread.  the more brown sugar = the better the bread.

Then for the topping!  You don't have to add the topping, but it really makes this a sweet breakfast treat!  Yum, yum, yummy!  Just mix the flour, sugars, and butter in a small bowl.

Cut with pastry blender until it is well mixed.


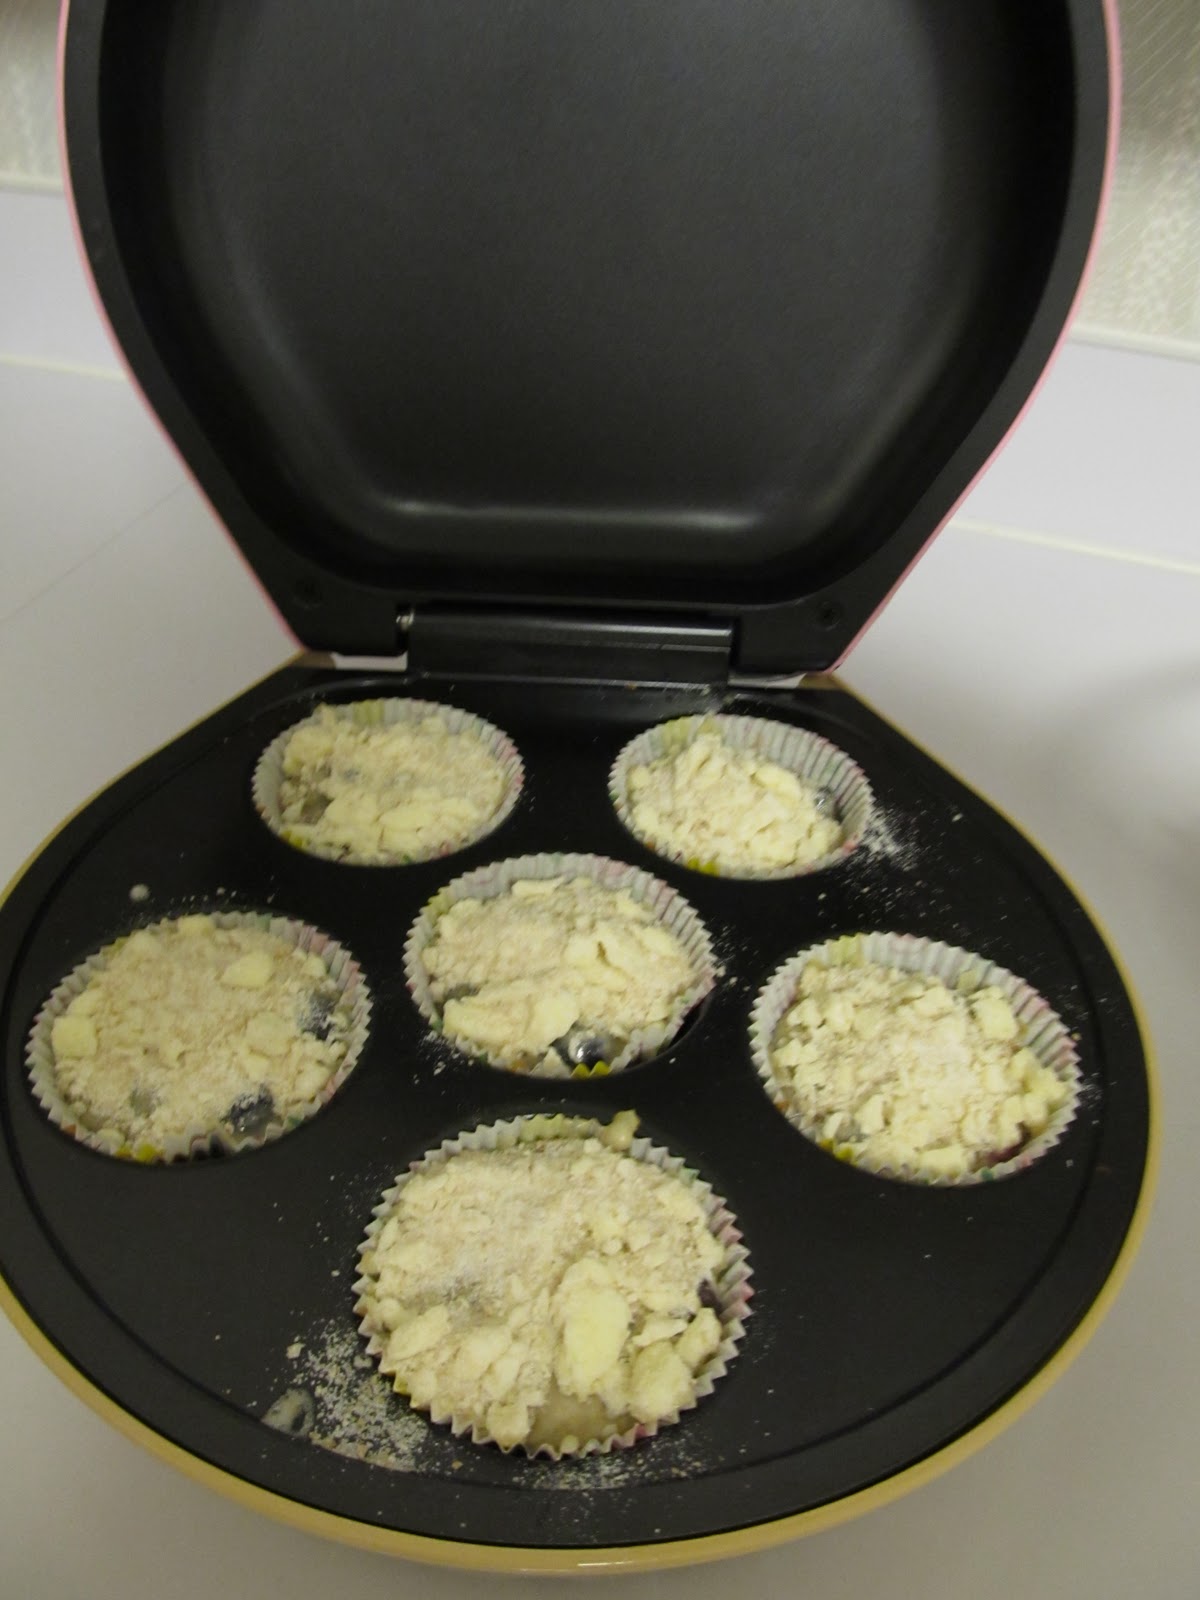
Here's where the great brown sugar blueberry bread experiment really began.  I can't bake muffins in my oven bc my muffin pan is too big for my oven (crazy, right?).  Soooo, I use my trusty cupcake baker which is a great alternative.  However, for the topping on these muffins,  I'll be honest, I wasn't completely satisfied.

In the cupcake baker I tried one set with topping and one without.  I baked them for about 15 minutes in the cupcake baker.  If baking them in a conventional oven, I would try baking them at 350 for about 20-25 minutes or until they're golden brown.

I used half the batter for muffins and used the rest of the batter for a more conventional breakfast bread. I put the batter in the pan...

And covered it with topping.  Then I baked it at 350 for 40-45 minutes.  (So you could either halve the recipe to make this same size pan, or you could make two pans of bread - great for sharing :)

Here's what the plain muffins looked like it.  Yes, since this is Cowtown Cooking, I am shamelessly including this picture.  You're welcome :)

The ones on the left are without topping, the ones are the right are with topping.  The ones with topping may not have been super pretty, but let me tell you, warm right out of the oven?  With a cold glass of milk?  SO AWESOME!!!  Seriously, my husband and I could probably a pan each - SO good!!

Here's what the breakfast bread looked like right out of the oven.  See how pretty it is with that yummy topping crust?  You know you want to try it right through the screen!

Totally yummy!  And a word to the wise - this doesn't keep more than a day, so the sooner you eat it, the better ;)

Saturday, October 8, 2011

Breakfast Tacos...for Dinner

I LOVE this meal!!  I love it because it's simple, easy, the possibilities are endless, it's super yummy, and...I didn't cook it!  Haha!  The hubby did the cooking!  Score!  (I did notice that he didn't do the clean up, as well, but Rome wasn't built in a day :)

We were in need of dinner on Saturday night and had all these ingredients so it came together nicely!  The pic shows flour tortillas, but we also had corn tortillas (leftover from the King Ranch Chicken) and I loved it with the corn tortillas!  Such a yummy change!  I plan to have these on the menu more often now that I realize how simple & easy they are.  (And bc Hubby will cook the eggs :)
For this you'll need:
  • eggs
  • milk
  • shredded cheese (we used mexican blend and cheddar)
  • green pepper, diced
  • butter
  • pepper (to taste)
  • tortillas (corn or flour)
  • your favorite salsa
  • sour cream, optional
  • guacamole, tomatoes, pico de gallo, really the possibilities are endless!!


Saute green pepper until crisp/tender in about 1 tbsp butter

Now this is the even sweeter part - the Mister took some pictures!  LOVE it!  He wanted to show the ridiculous amount of eggs I got on sale at Albertson's last week :)

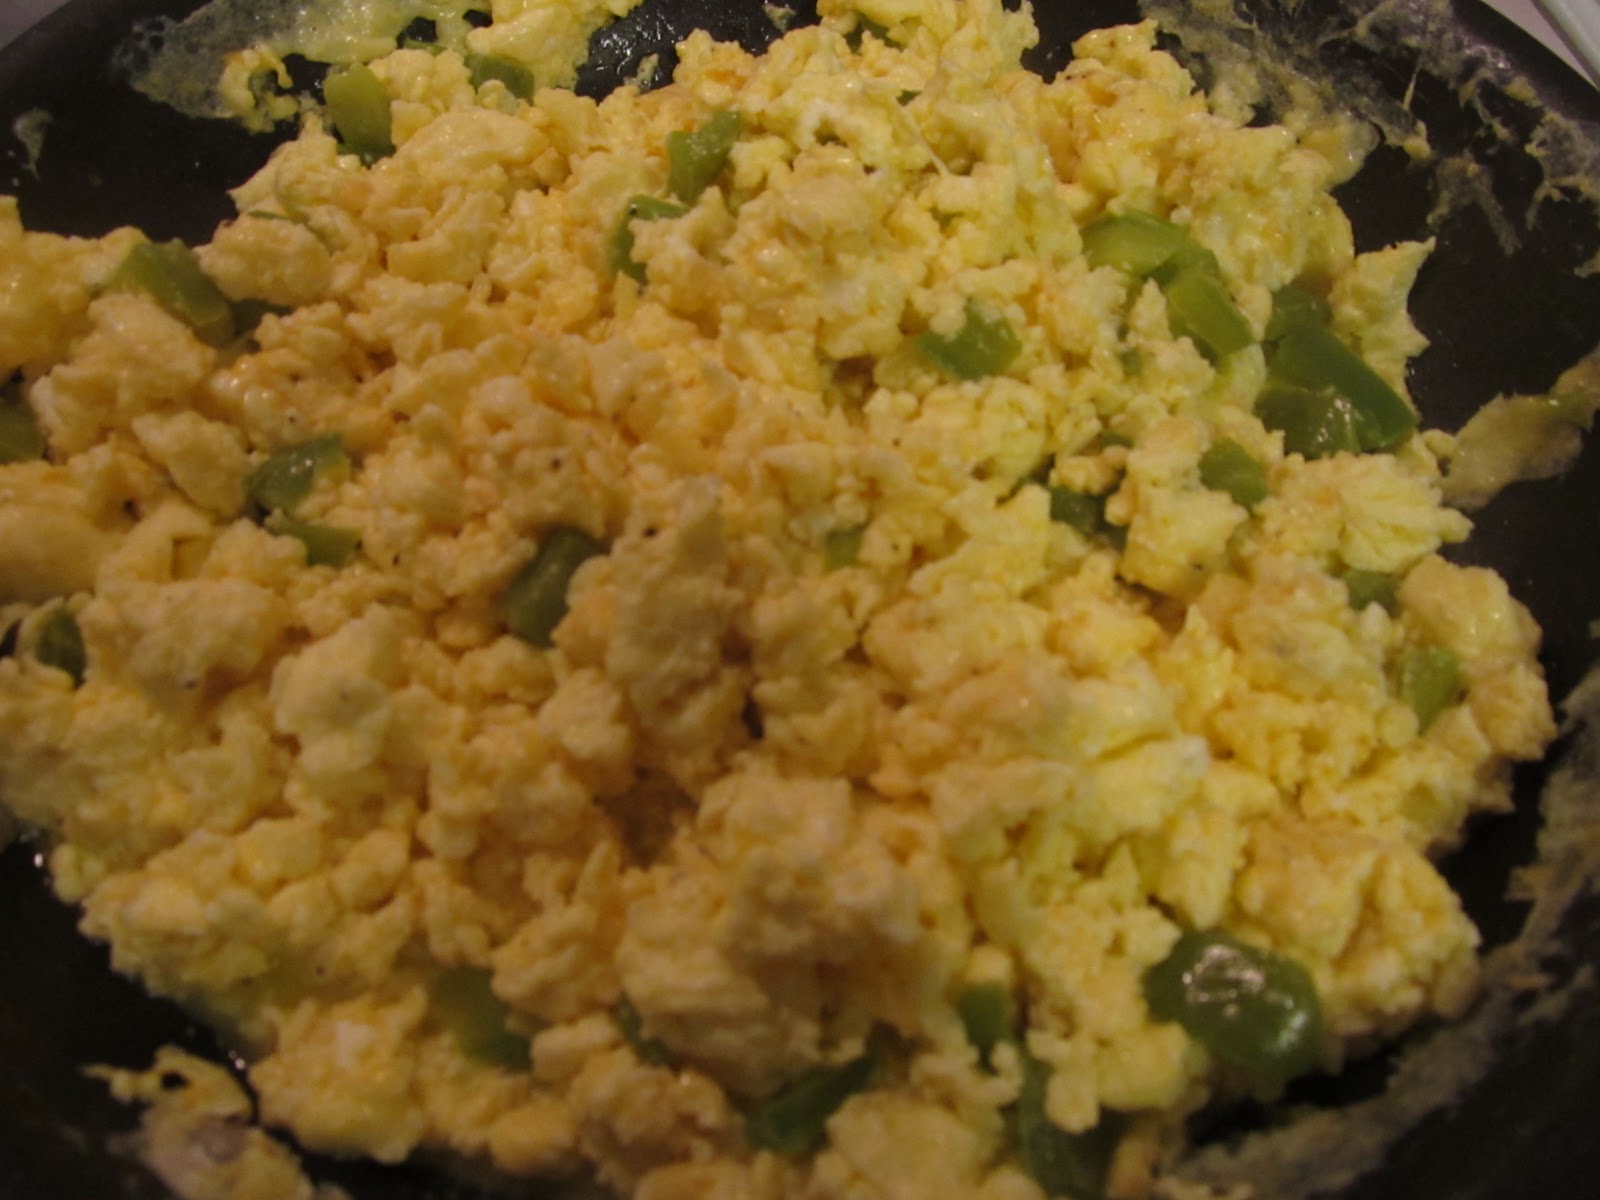
And the pyrex cup that he mixed the eggs (he used NINE, no you don't have to use that many, NO we did not eat that many, it was TOO much), about 1/3 cup milk, pepper to taste and whisked it in the pyrex cup.  He then poured it in a nonstick pan that he had already coated with melted butter (1-2 tbsp).    When eggs are beginning to set, scramble them, and continue to scramble them until desired doneness.  

Add choice of cheese and stir in until melted.  Add green peppers and any other additions at this point.

Yum, yum, yummy!!

We all loaded up ours differently - I did sour cream, eggs, salsa - it was fabulous!!  We will be having these again!  Thank you, Hubby!